
My first introduction to pineapple tarts was fairly recently. James had eaten them while growing up in Singapore, and said how difficult it was to find them here in the States. My only connection to pineapple tarts was pineapple cakes; the Taiwanese treats are easily available in Asian supermarkets, and my mom would buy them pretty regularly while I was growing up. When I found out that this was an entirely different pastry, I got really excited! If you have been following us from the beginning, you guys would know that anything with fruit is my jam!!
Pineapple tarts are traditionally eaten during the Lunar New Year because in the Hokkien and Fukien dialects, the word for pineapple is ong lai, which sounds similar to “good fortune comes”. So eating pineapple tarts during this time of year would help bring good fortune to those that enjoy them!
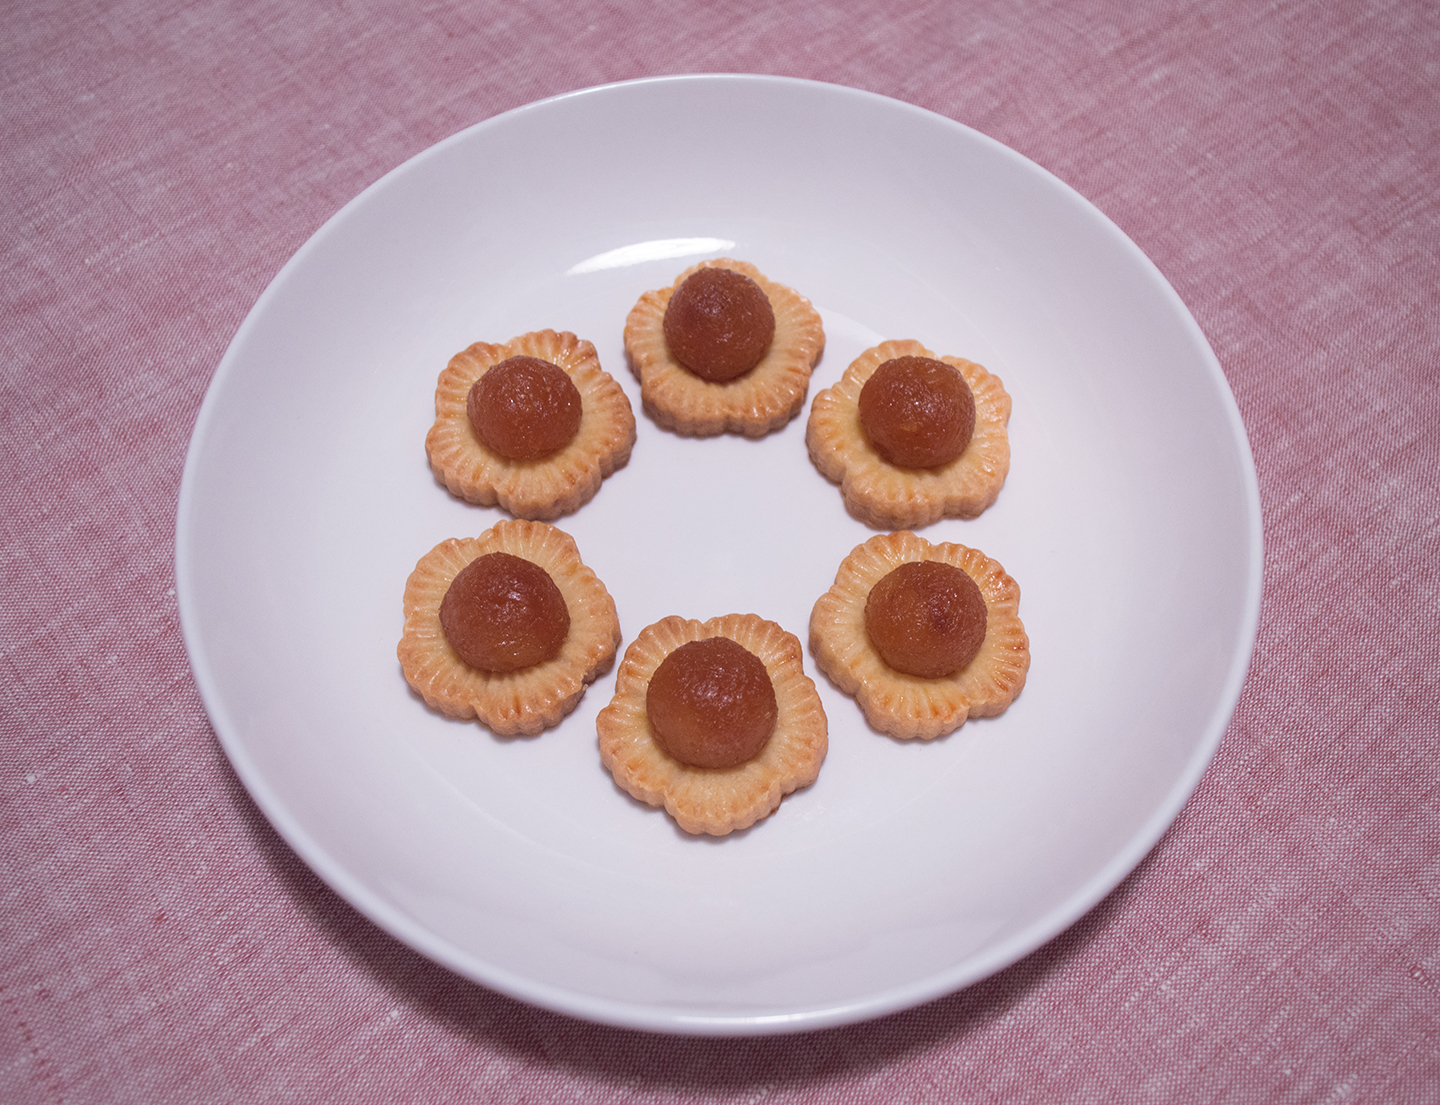
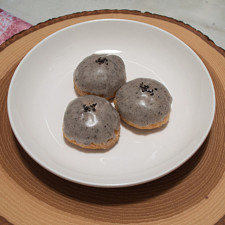
They come in a variety of shapes and sizes: fully covered, open-faced, circular, oval, with or without lattice… but they’re all filled with cooked pineapple cradled by a buttery crust. It’s a sweet that you’ll want to share (or not share!) with everybunny because they’re so good! And don’t worry if you don’t have a special cutter and mold; you can make them like thumbprint cookies!
Recipe for Fènglí Tà/Huánglí Tà (鳳梨撻/黄梨撻) - Pineapple Tarts
- About 50-60 Tarts
- Preparation:
- Cooking:
- Waiting:
Ingredients
- 160g (about 11½T) Unsalted Butter
- 40g (5T) Confectioners Sugar
- 30g (7T) Skim Milk Powder
- 3g (1t) Kosher Salt
- 2g (½t) Vanilla Extract
- 2 large Egg Yolks
- 200g (about 1½ cups, plus 2T) All-Purpose Flour
- 300g (10½oz) Pineapple Filling
- 1 large Egg, for egg wash
Procedure
Melt-in-your-Mouth Tart Dough:
- In a stand mixer with a paddle attachment, cream the softened butter and sugar together. Once combined, add the milk powder, salt, and vanilla extract. Mix well.
- Add the yolks into the mixer bowl and mix until the yolks are fully incorporated.
- Toss in all of the flour and bring the mixer to a slow stir. Turn off the machine when the flour is almost fully mixed, and finish by hand or spatula.
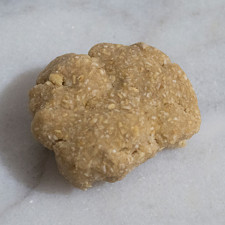
- Scrape out the dough onto a piece of plastic film, cover, press flat, and refrigerate for about 1 hour.
Crumbly Tart Dough:
- Whisk together the sugar, milk powder, salt, and flour. Take 1cm cubes of cold butter and rub them together with the dry ingredients, until the mixture looks like breadcrumbs.
- Add the yolks and vanilla, and mix with a spatula until well incorporated.
- Scrape out the dough onto a piece of plastic film, cover, press flat, and refrigerate for about 1 hour.
Portioning the Filling:
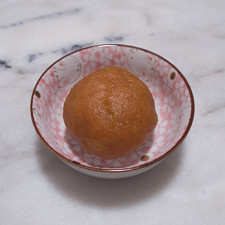
- Take the chilled pineapple and separate into 5g balls (a little less than 1t). Lay them out on a plate and set aside.
Assemble and Bake:
- Roll the dough out to ½cm (about ⅕in) thickness. Use the tart press to cut out and make an impression on the dough. Place them all onto a cookie sheet lined with parchment, with an inch of spacing between them.
- Egg wash the edges of all the tart shells, and place a pineapple ball in the center of each one.
- Bake at 350°F (177°C) for 15 minutes, or until the edges start to get some color.
- Cool completely before eating. Store in an airtight container up to 3 days at room temperature, or 1 month in the freezer.
*Bunny Wisdom*
- I'm presenting two different ways to achieve a yummy tart shell, depending on your preferences. They're both excellent for pineapple tarts, but I really like the ones that melt in the mouth.
- I don't want to overwork the dough, so I find that finishing the mixing by hand, or mixing by hand from start to finish really allows me to control how much work I'm putting into making the dough. If you don't have a stand mixer for the creaming method, it's okay! Just make sure all of your ingredients are softened or close to room temperature, and use a mixing bowl with a spatula. This will make the mixing process easier.
- Pressing the dough flat to ½-¾-inch thickness cools the dough faster, and I don't have to roll the dough too much since most of the work is done.
- If the pineapple spheres are sticking to your hands, rub a very small amount of neutral oil in the palms before rolling the filling.
- A coating of flour might be necessary to punch out the tart shells. The cutter and mold might stick to the dough.
- Press the spheres of pineapple lightly into the indentations, making sure they adhere to the tart shells.
**Here is a tool I use for this recipe. Please, feel free to browse and ask questions on anything you see listed below.**
No thoughts on "Fènglí Tà/Huánglí Tà (鳳梨撻/黄梨撻) – Pineapple Tarts Recipe."