
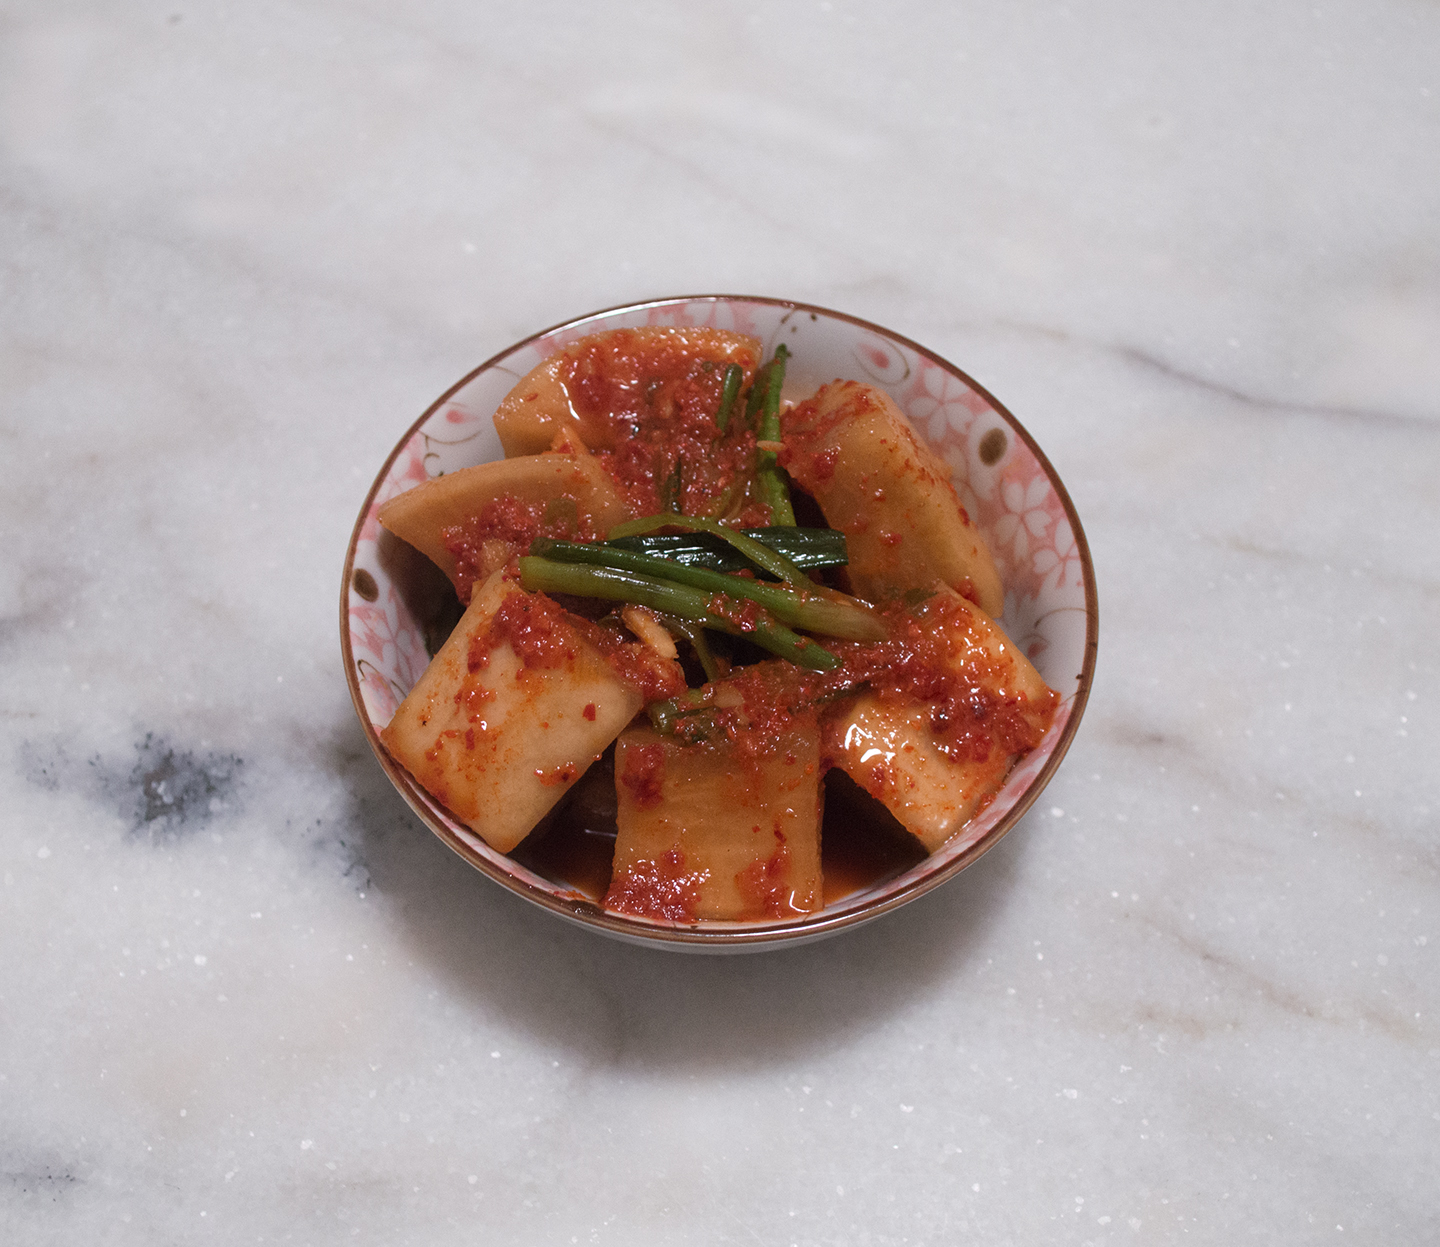
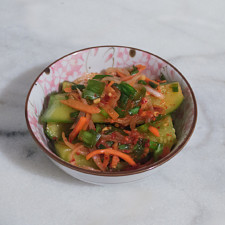
When it comes to kimchi varieties, I *love* any radish-type kimchi! The crunchy radish just makes me so happy! One of my favorites is an easy one, called Kkakdugi (깍두기). It’s a large Korean radish that’s been cubed up and seasoned very similarly to a standard napa cabbage kimchi.
My mom made kkakdugi for us when we were kids, but only a couple of times per year. The cabbage version was the staple in our household, as it is in most Korean homes. As the years went by, I continued to request this dish from her, and it became one of the regulars. Every time she made the cabbage version, she would make a small batch of kkakdugi for me! I knew immediately that I had to learn how to make this for myself, so I could share with my friends. It wasn’t until a few years ago that I began making it routinely, and now my hubby and I enjoy it every time we eat Korean food for dinner. After some finagling and repeatedly making this dish (Yay! More kkakdugi for me!!), I created the recipe below.
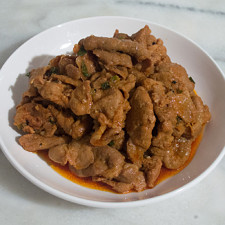
Actually, I confess… I made this a couple of months ago, eager to share with you guys, but completely forgot to take a photo before I ate up all of that batch! Oops! So I went ahead and made it again so I can properly share! Can you tell how excited I am (Yay for more yummy goodness!)?!
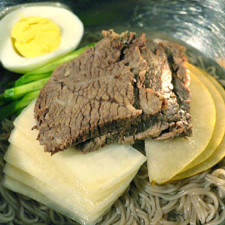
I love eating this with a hot bowl of soup like seolleongtang (설렁탕). Its robust and meaty flavors marry well with the kimchi.
Recipe for Kkakdugi (깍두기) - Cubed Radish Kimchi
- About 1½-2 Liters (1½-2 Quarts)
- Preparation:
- Cooking:
- Waiting:
Ingredients
- 30g (3T) Mochiko (Sweet Rice Flour)
- 240g (1 cup) room temperature Water
- 3 Joseon Radishes (roughly 6 inches in length and 3 inches in diameter)
- 25-30g (4-5t) Kosher Salt
- 3 medium Scallions
- 3-4 (9-12g) cloves Garlic, minced
- 6g (1T) Ginger, minced
- 18g (1T) Fish Sauce
- 20g (1T) Salted Fermented Shrimp
- 45-50g (about ½-cup) Red Pepper Flakes
- 12g (1T) Granulated Sugar
Procedure
- Put the Mochiko into a small saucepan with 120g (½-cup) of water. Stir with a spatula and let it sit for 10-15 minutes.
- Once the flour looks hydrated, place it over a medium flame. Stir constantly while cooking. As it begins to thicken, lower the flame. Slowly add the rest of the 120g (½-cup) of water, about 30g (2T) at a time, making sure the water is well incorporated before adding more.
- Continue stirring on a low flame. The rice mixture will thicken and become translucent. Stir for another minute.
- Turn off the heat and set aside to cool to room temperature.
- As the rice paste is cooling, rinse and trim the radishes, getting rid of any brown spots and stray roots and stalks. Cut the radish into 1-1½ inch cubes, and place into a large bowl.
- Add the salt and toss until the salt is well incorporated. Set aside for 1½ hours, or until the salt has brined the radishes.
- While the radishes are brining, wash the scallions and cut them into lengths of 1½ inches. In a small bowl add the cut scallions, garlic, ginger, fish sauce, shrimp, red pepper flakes, and sugar. Add the cooled rice paste and mix all of the ingredients together. Set aside.
- Rinse the radishes and drain well. Add the seasoning and rice mixture into the large bowl. Mix thoroughly.
- Taste-test and see if the kimchi needs more fish sauce or salt. It should be quite briny and salty, like a cucumber pickle.
- Place all of the radish cubes into a 2-quart container and make sure there aren't any large air pockets.
- Cover and set aside for about 2-3 days at room temperature. Afterwards, place into the refrigerator for about 1 week before eating.
*Bunny Wisdom*
- Hydrating any kind of fine powder requires a little bit of patience. The resting period allows the dry ingredient to absorb the water, preventing large flour pockets.
- Take care to lower the heat if the mixture seems to be thickening faster than it is possible for you to incorporate the rest of the water.
- The continuous stirring prevents sticking and burning on the bottom of the saucepan.
- You will notice the mixture will go from opaque to translucent. Simmer for a minute, stirring and watching slow bubbles surface like the Bubbling Mud Pots of Yellowstone National Park. You don't want it to be boiling.
- Flip the radish cubes halfway through the brining stage. This will help distribute the salt and the saltwater created at the bottom of the bowl. You are welcome to rinse and taste a piece at this stage to see if it's salted well. The rinsed radish should taste salty; not just on the exterior, but the inner parts should be well-seasoned.
- You can find all of the ingredients at your local Asian or Korean grocery store.
- Level out the kimchi inside the container, making sure there aren't any large open spaces.
- If you are making this in the Summer, it may only take 1-2 days before you have to place the container into the refrigerator. The warmth of temperature affects the duration of fermentation. If you begin to notice a lot of bubbles forming and the kimchi rising upwards, pop open the container to release the gas, push the kimchi down, cover, and refrigerate. For this reason, I place my kimchi into a container that has a bit of breathing room on top.
- You can eat this as early as you want, but the more complex savory flavors begin developing in the second week and after.
- Any kimchi that seems quite stinky, fermented, and sour can be used in other recipes! Consider making Kimchi Stew (김치 찌개 - kimchi jjigae), Kimchi Soup (김치국 - kimchi guk), or Kimchi Fried Rice (김치 볶음밥 - kimchi bokkeumbap). Don't throw it away!
*Check out my Simple Cabbage Kimchi recipe for some photos to help you recognize the finished product of the rice paste.*
**Here are some of the ingredients I use for this recipe. Please, feel free to browse and ask questions on anything you see listed below.**

No thoughts on "Kkakdugi (깍두기) – Cubed Radish Kimchi Recipe."