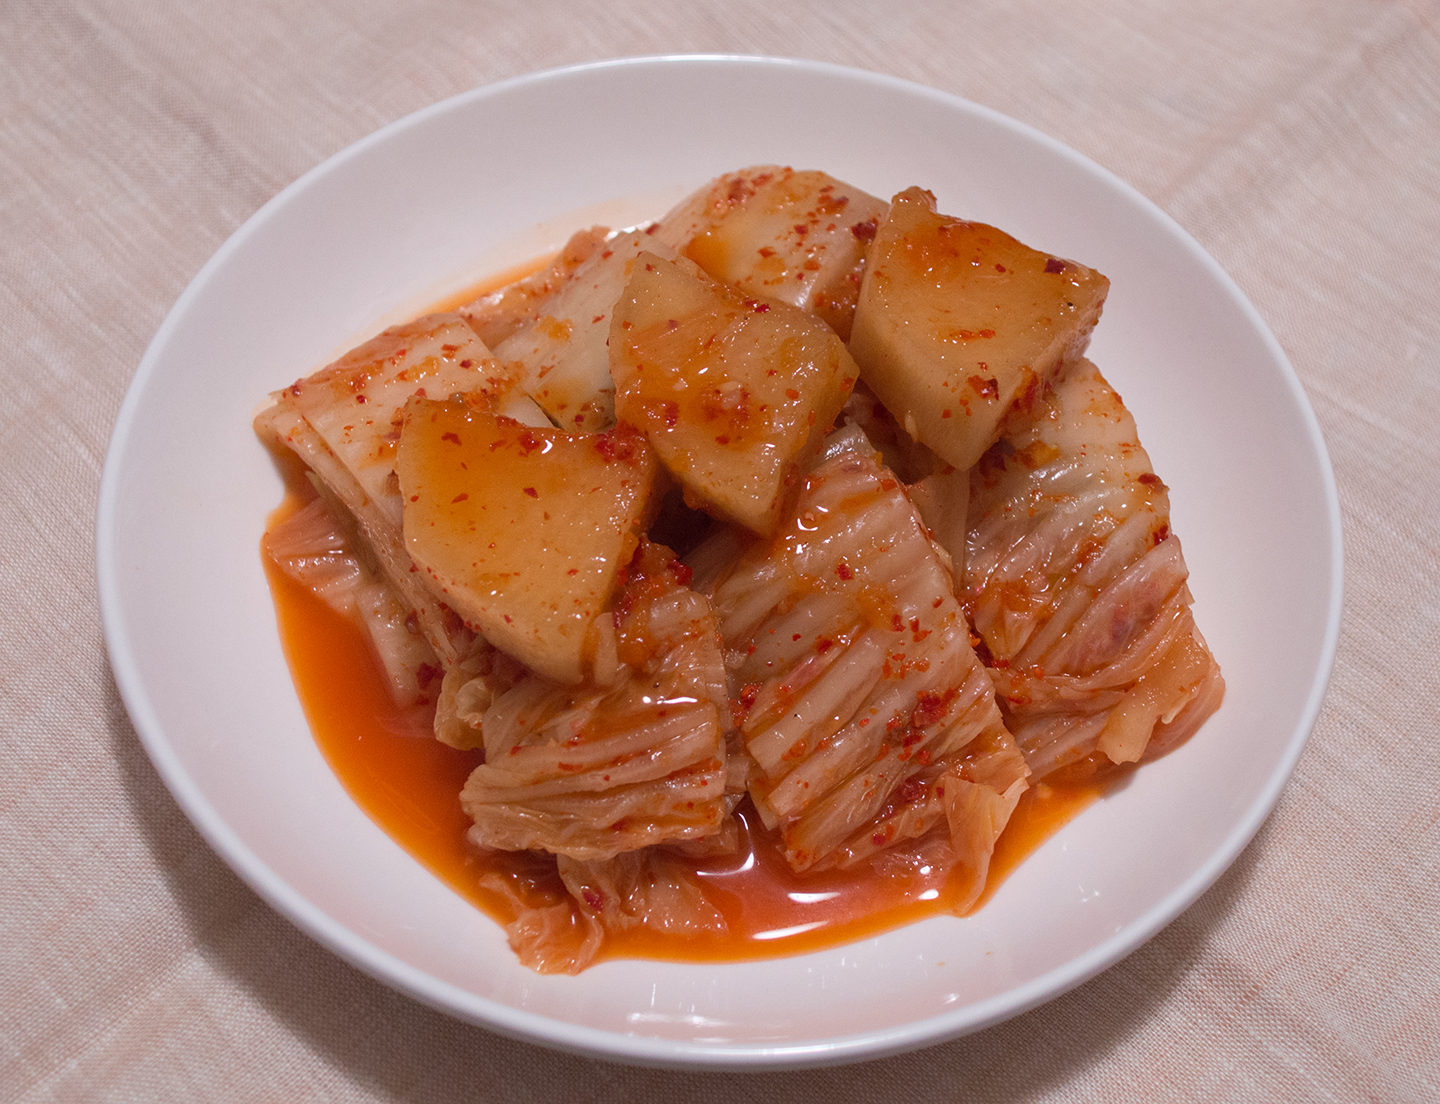
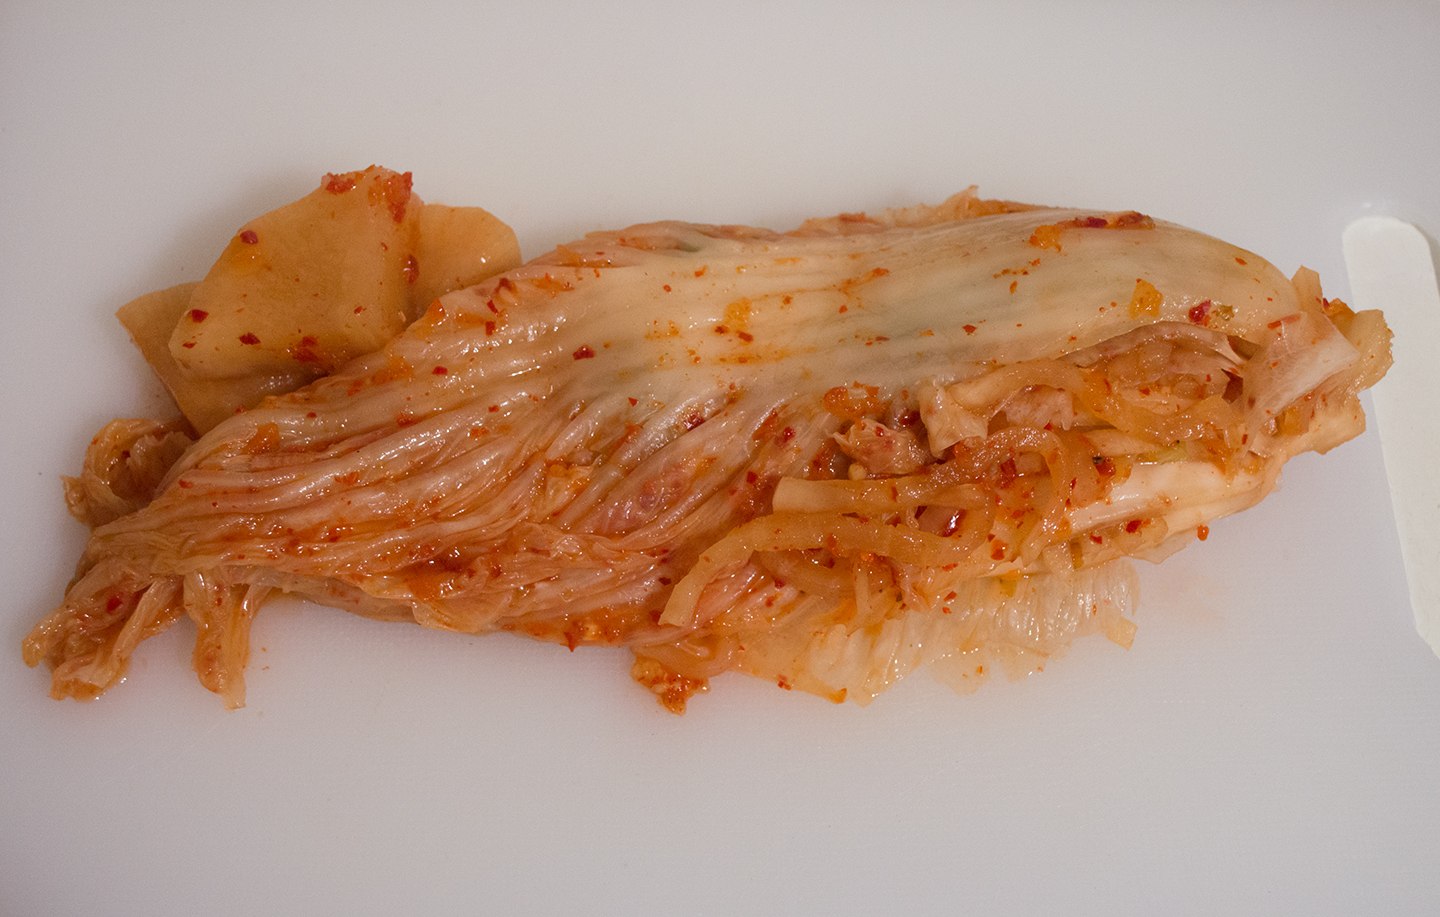
The first time I saw my mom make whole cabbage kimchi (포기 – whole head of cabbage; 김치 – kimchi), I was amazed by the sheer number of cabbages rolling out of the crate. It was a crazy feat every autumn; buying a 50-pound box full of cabbages at the end of the harvest season, brining it all in a large icebox in our utility room, and making kimchi to last us four to five months. We’d chip away at it by making soups and stews, mostly, with an occasional weekend lunch with pancakes or fried rice. It was something that I always remembered and enjoyed because whole cabbage kimchi tasted tremendously better than regular simple cabbage kimchi. Don’t get me wrong, the simple version is great too, but the depth of flavor in a whole cabbage version is hard to beat.
I began making my own kimchi in college, but stuck to the easier version. It wasn’t until I dedicated some more time to brine the whole cabbage that I realized it was the tastier choice, and lasts longer in the refrigerator.
I’m so excited to share with you our version of whole cabbage kimchi!
Recipe for Pogi Kimchi (포기 김치) - Traditional Whole Cabbage Kimchi
- Around 6 Liters of Kimchi
- Preparation:
- Cooking:
- Waiting:
Ingredients
- 1 large Napa Cabbage, about 6-7 inches in diameter
- 130g (½-cup, plus 2T) Coarse Sea Salt
- 40g (4T) Mochiko (Sweet Rice Flour)
- 240g (1 cup) Room Temperature Water
- 400g (about 14oz) Korean Radish
- 4 medium Scallions
- 15g (1½T) Garlic, minced
- 6g (1T) Ginger, minced
- 10g (2t) Fish Sauce
- 20g (1T) Salted Shrimp (Saeu Jeot)
- 45g (½-cup) Red Pepper Flakes
- 8g (2t) Granulated Sugar
- 1 small Fuji Apple, grated
Procedure
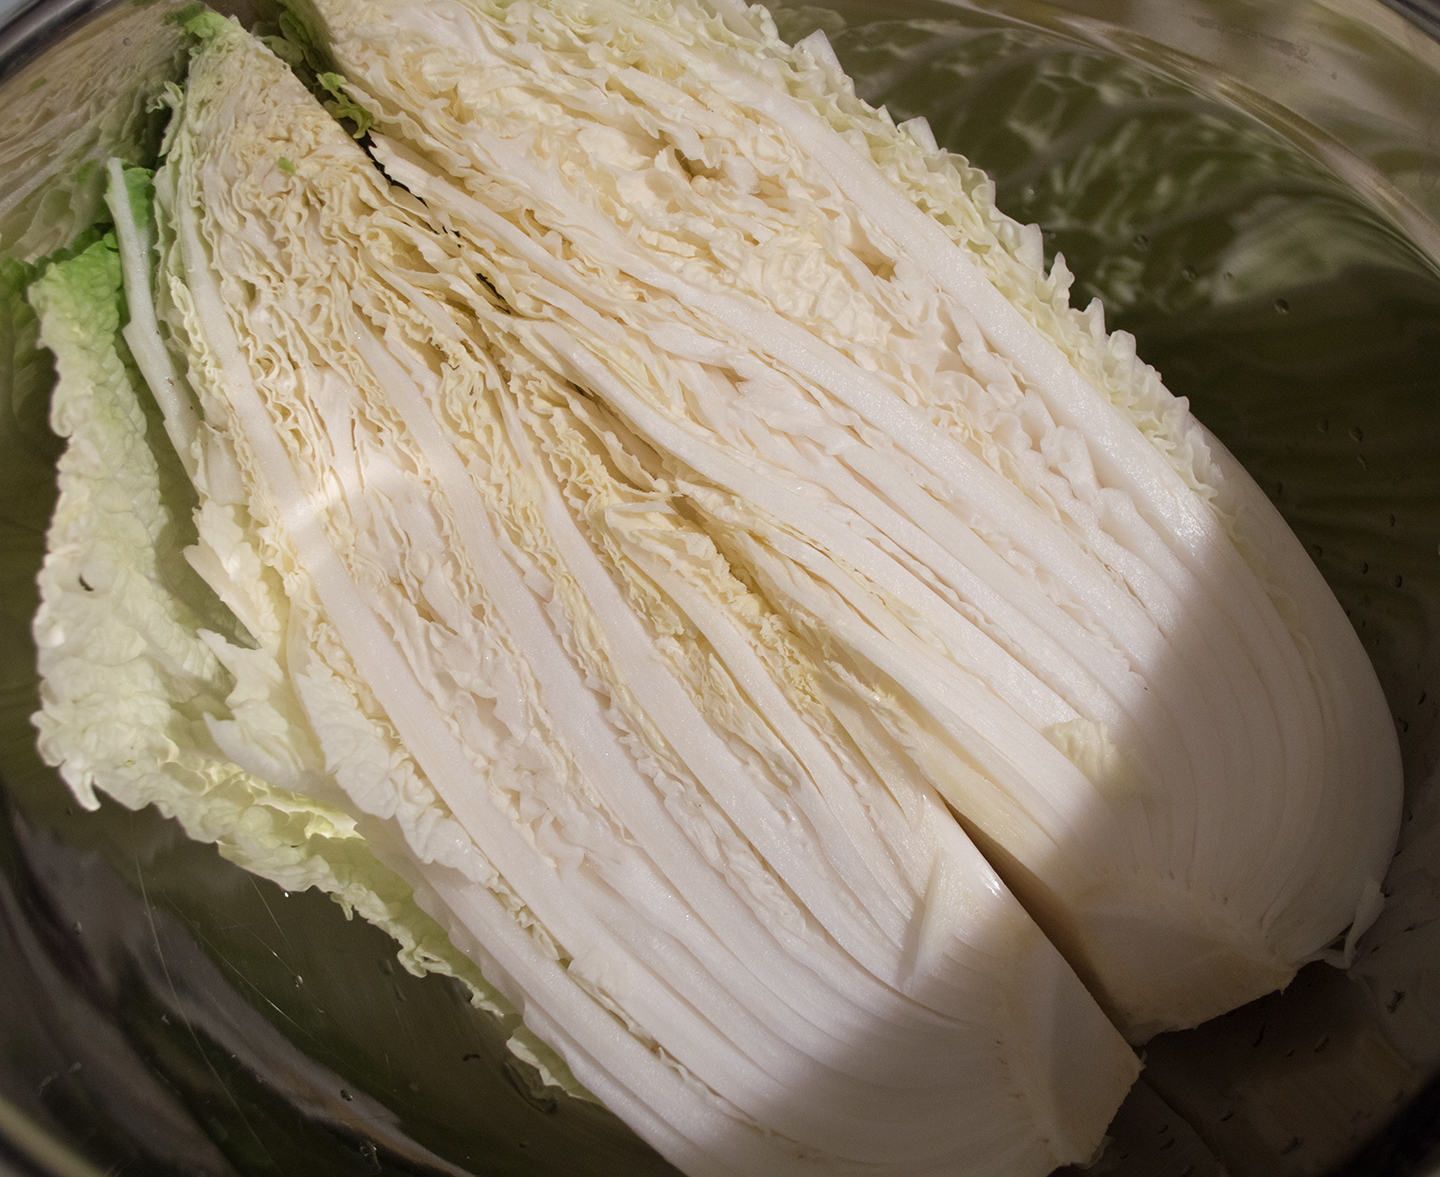
- Cut the cabbage about ½-inch in from its base. Discard the outermost layer and quarter the cabbage, lengthwise.
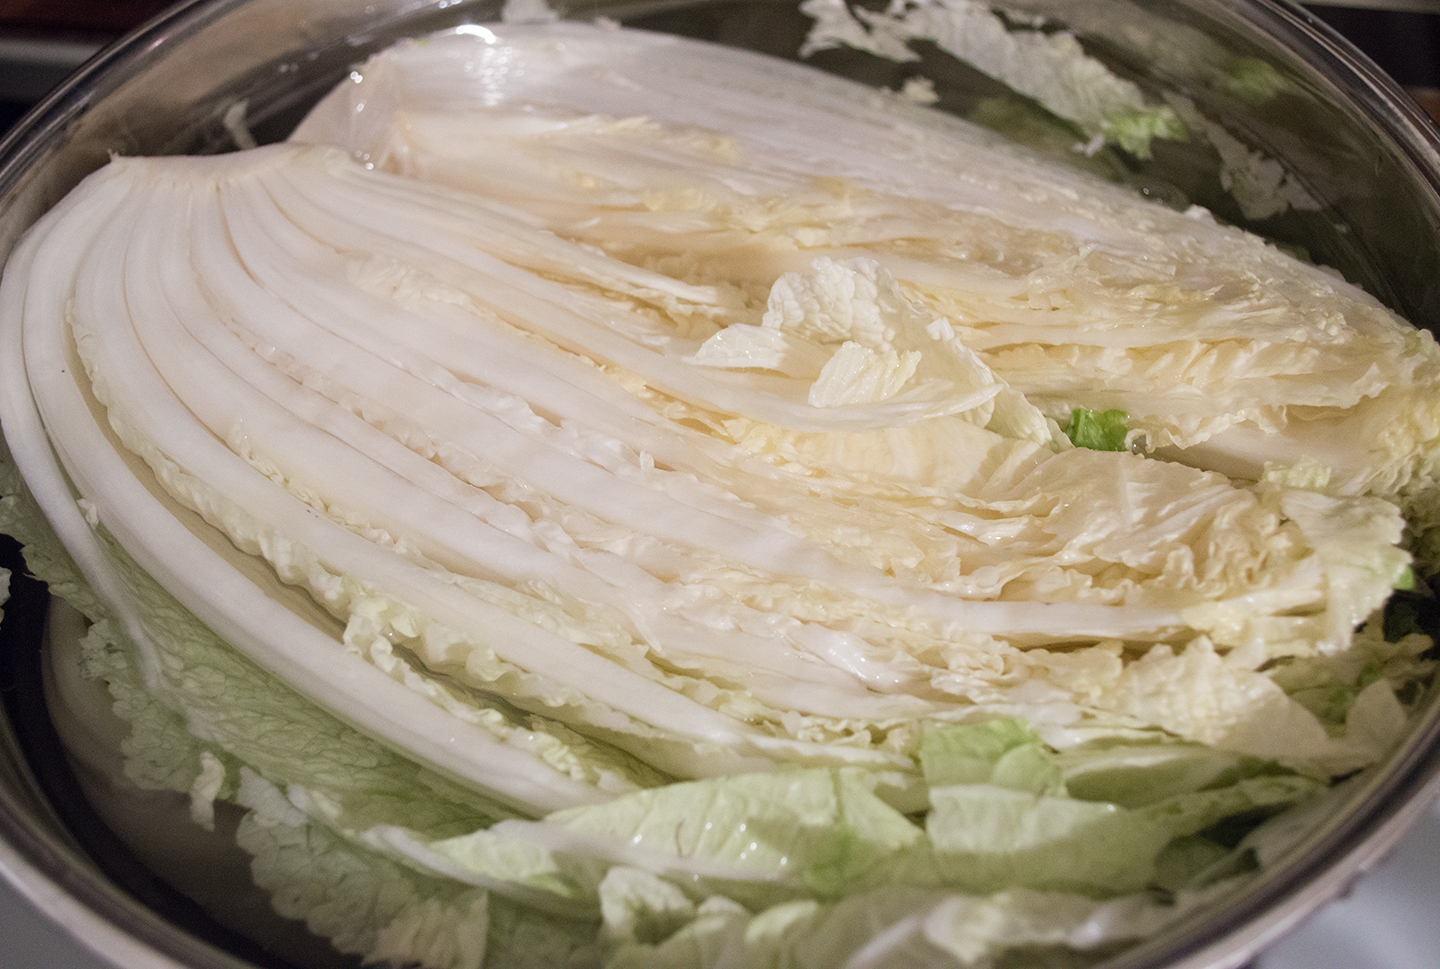
- Rinse the cabbage, drain, then salt in between the layers. Place all of the quarters in a large bowl, add any remaining salt, and fill up the bowl with water to the same level as the cabbage. Set aside overnight, or until the salt has brined the cabbage.
- Put the Mochiko into a small saucepan with 120g (½-cup) of water. Stir with a spatula and let it sit for 10-15 minutes.
- Once the flour looks hydrated, place it over a low-medium flame. Stir constantly while cooking. As it begins to thicken, lower the flame. Slowly add the rest of the 120g (½-cup) of water, about 30g (2T) at a time, making sure the water is well incorporated before adding more.
- Continue stirring on a low flame. The rice mixture will thicken and become translucent. Stir for another minute.
- Turn off the heat and set aside to cool to room temperature.
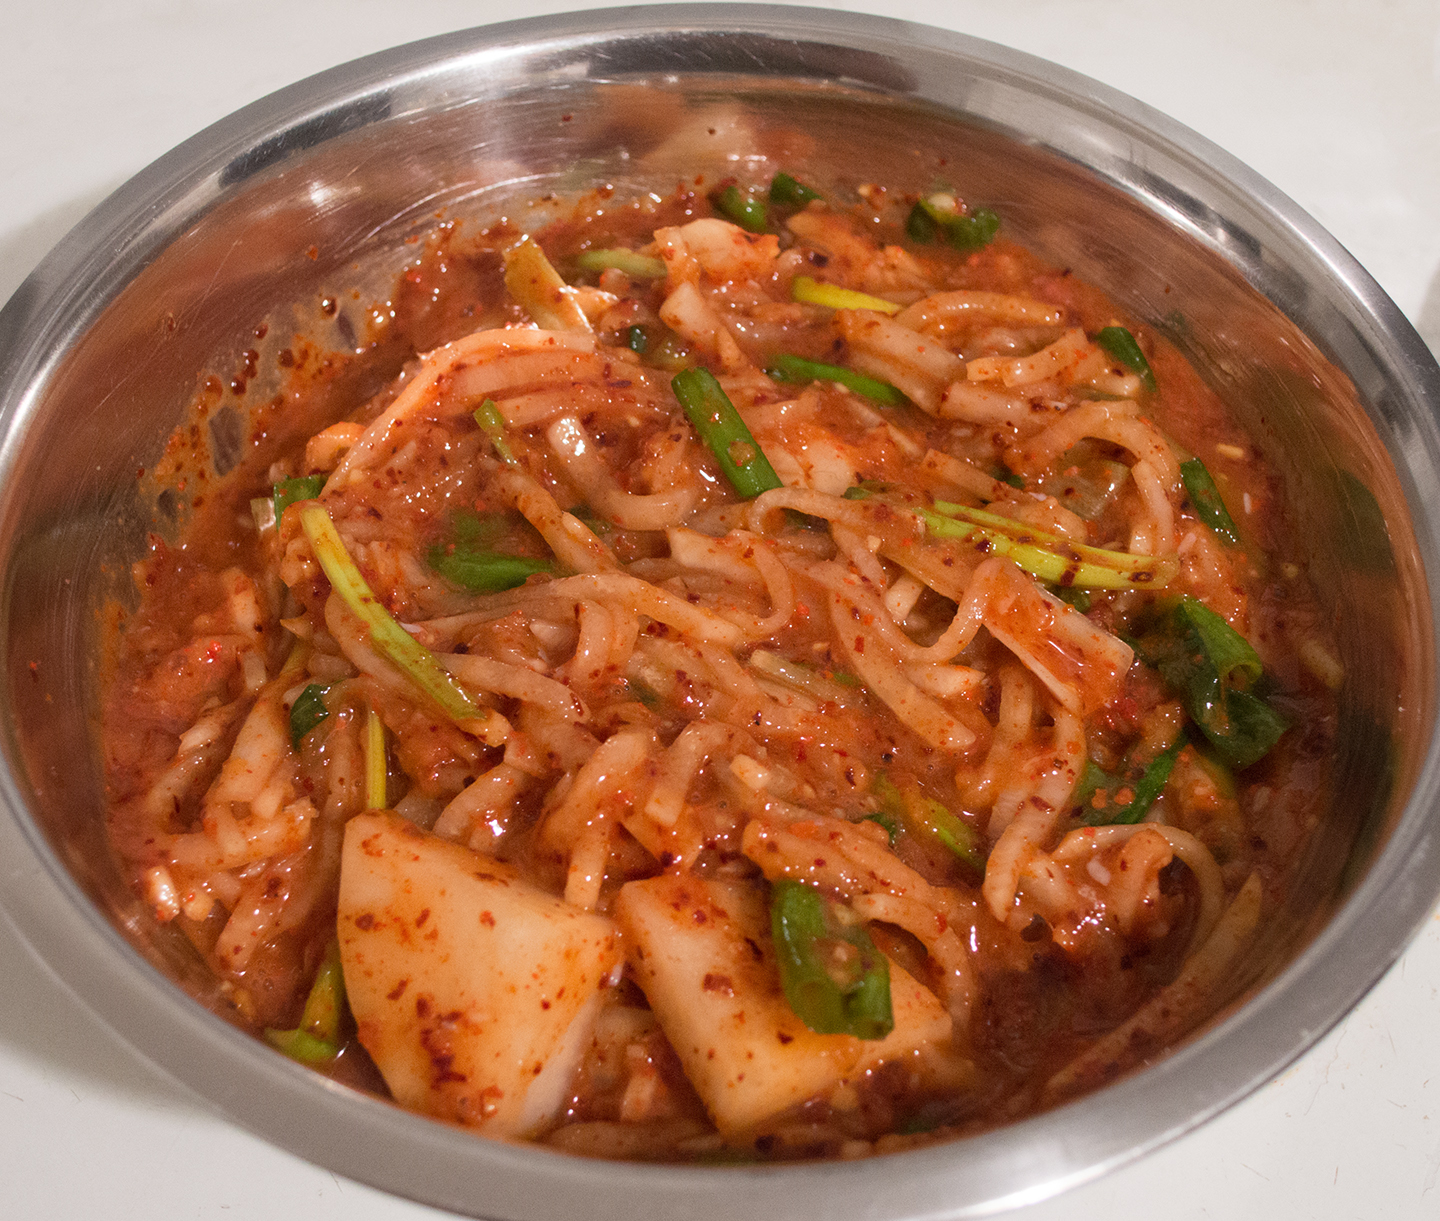
- Peel the radish, remove the top and tail, and shred it on a mandoline slicer. Wash the scallions and cut them into lengths of 1½ inches. In a small bowl add the cut scallions, garlic, ginger, fish sauce, salted shrimp, red pepper flakes, and sugar. Pour in the grated apple and juice. Add the cooled rice paste and mix all of the ingredients together. Toss in the shredded radish, and mix well. Set aside.
- Rinse the cabbage when it is done brining. Drain well. Stuff the cabbage with the seasoned radish mixture in between all the layers.
- Place all of the cabbage quarters into a 5-6 liter container and push it down. If you have any remaining radish, fill in the gaps between the quarters. Make sure the liquid line is just hovering below the kimchi line.
- Cover and set aside for about 2-3 days in room temperature. Afterwards, place into the refrigerator for 1-2 weeks before eating.
*Bunny Wisdom*
- The size of the cabbage doesn't really matter. I got a six-pound cabbage to make this once, and it still worked out well. Smaller cabbages are easier to handle, and they're more naturally sweet. As long as you have a healthy cabbage to work with, the recipe should work.
- If the cabbage is small enough, you can slice the cabbage in half. I like to quarter them so I can stuff the cabbage better.
- Salting is a slightly tricky process. If you have a watery cabbage (it has thick leaves, looks foamy, mostly white with less leafy green portions), it might take more salt to draw out the water. If the leaves are thin, salting would be a quicker process, and you may not need all of the salt indicated. The good thing is, if you over-salt or under-salt your cabbage, you can fix it!
- Flip the cabbage halfway through the brining stage. This will help thoroughly brine the cabbage. You are welcome to rinse and taste a piece at this stage to see if the cabbage is salted well. The rinsed cabbage leaves should taste salty; not just on the exterior, but the inner parts of the cell walls should taste briny.
- If the cabbage hasn't brined enough during the overnight brine (or brining for at least 6-8 hours), toss the water out from the bowl, sprinkle some salt between the layers, and let it sit for an hour. Proceed as stated, by rinsing, draining, and stuffing.
- If the brined cabbage leaves are very salty, you have two options to remedy the recipe: soak the cabbage in clean water for 30 minutes to 1 hour, and taste-test again to see if it's less salty, but still briny. Or, season the radish with less fish sauce and salted shrimp. Basically, if the cabbage is salty, season the radish conservatively. If the cabbage is not salty enough, season the radish with more fish sauce and shrimp, or re-brine the cabbage.
- Hydrating any kind of fine powder (like rice flour) requires a little bit of patience. The resting period allows the dry ingredient to absorb the water, preventing large flour pockets.
- Take care to lower the heat if the mixture seems to be thickening faster than it is possible for you to incorporate the rest of the water.
- The continuous stirring prevents sticking and burning on the bottom of the saucepan.
- You will notice the mixture will go from opaque to translucent. Simmer for a minute, stirring and watching slow bubbles surface like the Bubbling Mud Pots of Yellowstone National Park. You don't want it to be boiling.
- I use Korean radishes, which are denser and less watery than icicle and oriental varieties. They're fatter and not as long. They also tend to hold up better in kimchi, and ferment slower.
- When you don't have a mandoline slicer, it's easy to matchstick radishes with a knife and cutting board. I sliced the radish down the length into thin slices, tiled the circles flat, then sliced into thin strips down the cutting board.
- Taste-test the seasoned radish and compare the salinity to the cabbage. Adjust accordingly.
- When pushing down the kimchi, make sure you aren't bruising the leaves, but just removing the trapped air between the layers.
- The liquid should just barely cover the kimchi. To help distribute the liquid, move around some of the layers until things settle down. Level out the kimchi and see if you need some water. Add some room temperature water, if necessary.
- If you are making this in the Summer, it may only take 1-2 days before you have to place the container into the refrigerator. The warmth of temperature affects the duration of fermentation. If you begin to notice a lot of bubbles forming and the kimchi rising upwards, pop open the container to release the gas, push the kimchi down, cover, and refrigerate. For this reason, I place my cabbage kimchi into a container that has room on the top.
- You can eat this as early as you want, but the more complex savory flavors begin developing in the second week and after.
- Any kimchi that seems quite stinky, fermented, and sour can be used in other recipes! Consider making Kimchi Stew (김치 찌개 - kimchi jjigae), Kimchi Soup (김치국 - kimchi guk), or Kimchi Fried Rice (김치 볶음밥 - kimchi bokkeumbap). Don't throw it away!
**Here are some of the ingredients I use for this recipe. Please, feel free to browse and ask questions on what you see listed below.**




No thoughts on "Pogi Kimchi (포기 김치) – Traditional Whole Cabbage Kimchi Recipe."